|
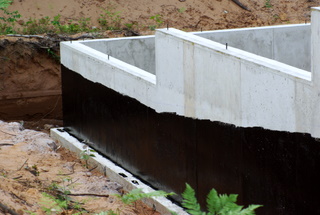
Water Proofing The Home FoundationNow that the home foundation has been poured and the forms have been removed, it was time to get the foundation ready for applying the foundation coating. The coating, when applied, will make the foundation water proof.
The top of the footing was swept clean of any loose cement. There was one final step taken before applying the foundation coating and that was to snap a line around the foundation at the point of the final grade. This was a guide of how high to apply the foundation coating. The coating was keep two or three inches below this mark. The foundation coating was applied with a paint roller and a brush was used in the corners. Two coats were applied to the foundation wall.
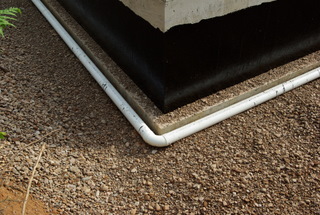
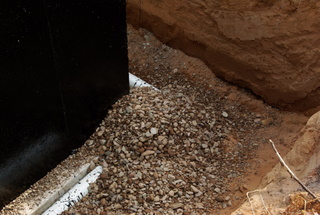
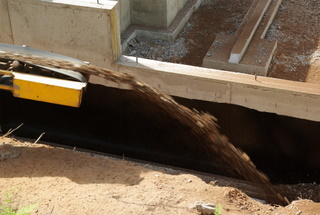
Foundation Drainage PipeDrainage pipe is another important part in keeping the foundation dry. Four inch perforated PVC pipe (pipe with two rows of holes) was placed around the out side of the foundation wall. This pipe will carry of any water that collects at the footing. Small rock are placed under the pipe and about eight to twelve inches over the pipe. When the rock was in place a two foot strip of landscape fabric was placed over the rock to prevent silt from plugging the holes in the pipe.
|


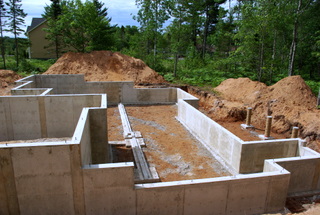 The preparation work consist of cleaning the wall of loose and small bumps of concrete. (A garden spade or shovel works great for this.)
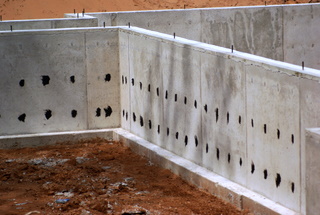
 The ends of the form ties, where they protrude through the foundation wall,are covered with a dob of roofing cement.Any larger air holes or voids in the concrete are filled with the roofing cement as well.